Clean lip liners: our smudge and feathering test
A lip liner can have excellent pigment, a creamy glide, and a beautiful shade—then fail the only test that matters by lunchtime.
The outline softens, color migrates into vertical lip lines, and the lipstick starts moving beyond the vermilion border like it has somewhere better to be.
That is the pressure point in a clean lip liner smudge test. Plant-derived waxes and botanical oils can create a firm, wearable boundary, but they do not get a free pass simply because the ingredient list sounds reassuring. A liner still has to sharpen cleanly, deposit enough pigment in one pass, resist movement after eating and drinking, and keep a gloss from turning the perimeter into a muddy halo.
Silicones and mineral oils are often used to create slip and a smoother film. Clean formulas typically leave them out, along with parabens, synthetic fragrances, microplastics, BHA/BHT, phthalates, and synthetic PFAS chemicals. The performance challenge is obvious: how do you get controlled glide without producing a soft wax trail that collapses under heat, oil, and friction?
The answer depends less on the word “clean” than on the formula architecture—and on how you apply it.
The science of plant-based definition: waxes versus silicones
A clean lip liner is not simply a conventional pencil with a shorter ingredient list. Its structure usually depends on plant-derived waxes and oils that have to perform several jobs at once.
Carnauba wax is one of the key structural ingredients. It gives the pencil hardness and helps the deposited line hold its shape. Jojoba seed oil and sunflower seed oil can add glide, making the pencil less draggy across the lip. That combination sounds straightforward, but the balance is unforgiving.
Too much wax and the pencil can feel stiff, skip over dry patches, or leave a broken line at the corners of the mouth. Too much oil and the payoff may look rich for five minutes before the border starts sliding. A liner that feels luxurious on first contact can still be a poor performer if it never sets into a stable film.
This is where a natural lip liner wear test needs to be more demanding than a single arm swatch. The arm tells you whether the pigment is visible. It does not tell you whether the product can survive the movement of speaking, the moisture around the inner lip, or the oil from food.
What the formula has to deliver
A serious clean lip pencil should manage four separate performance tasks:
- Controlled glide: The pencil should move across the lip without tugging, but it should not feel oily or leave a wet-looking perimeter.
- Immediate pigment payoff: If you need three passes to create a visible contour, the formula is already increasing the chance of patchiness and migration.
- Structural hold: The line needs enough wax support to remain where it was placed instead of melting into fine lines.
- Layer compatibility: It should work beneath lipstick, gloss, stain, or a full-lip base without pilling or creating a heavy ridge.
These demands can conflict. A very hard pencil may resist smudging but make precision difficult. A very creamy pencil may look polished at application and then fail under pressure. The strongest formulas sit in the middle: enough slip to create a clean contour, enough structure to prevent the contour from becoming a blurred suggestion.
Clean ingredients do not guarantee clean edges. The performance still comes down to wax structure, pigment payoff, and how fast the line settles.
There is also a practical distinction between a formula designed to define the lip and one designed to act as a long-wear color base. A contour-only liner may be firmer and more resistant around the perimeter. A liner intended to cover the entire lip may be creamier, with a softer payoff that spreads efficiently across a larger surface.
Neither design is automatically better. You want the one that matches the job.
Why anti-feathering matters more as the lip contour changes
The outer lip line is called the vermilion border—the slightly raised transition where the lip meets the surrounding skin. It is the natural boundary your liner is trying to reinforce. When that boundary becomes less defined, lipstick and gloss have more room to travel.
This is not just a question of age. Dryness, repeated sun exposure, dehydration, certain formulas, and normal changes in lip texture can all make the edge harder to read. Once the border loses clarity, a sheer gloss may expose the problem immediately, while a highly pigmented lipstick can amplify it.
A non-toxic lip liner feathering test should therefore focus on the perimeter, not only on color intensity. A line can remain technically pigmented while still failing visually because the edges have expanded and softened.
Watch for three different types of movement:
1. Feathering: Color creeps into the fine lines around the lips. The outline looks fuzzy rather than intentionally diffused.
2. Smudging: Friction moves the pigment from its original position, often at the corners or on the lower lip.
3. Breakdown: The center fades, the border remains too strong, and the result becomes ring-like or uneven.
These failures require different fixes. Feathering calls for better perimeter control and thinner application. Smudging may indicate that the formula has not set or that the surface was too emollient. Breakdown usually improves when the liner is used across the full lip as a base rather than only around the edge.
The lip-surface problem
The biggest mistake in most wear tests is applying liner over a heavy coat of balm. It feels comfortable. It also creates a slippery layer between the pigment and the skin.
For a cleaner test, apply lip care earlier, allow it to settle, then blot before lining. You are not trying to make the lips uncomfortable; you are removing excess surface oil that can sabotage the formula. A thin, even surface gives the waxes a better chance to anchor.
Dry flakes create the opposite problem. A hard pencil can catch on them, producing a segmented outline. If the lip surface needs smoothing, use a gentle lip treatment beforehand and remove any residue. Do not build a glossy balm layer immediately before you expect the liner to hold.
How to run a real-world clean lip liner wear test
An organic lip liner durability test should recreate the conditions that expose weak formulas. A perfect swatch under studio lighting is not enough. The product needs to survive heat, friction, moisture, and food without turning the contour into fallout.
A practical evaluation looks at the liner in stages:
1. Application under pressure
Start with freshly sharpened product and apply it to clean, dry lips. Test the pencil at the cupid’s bow, the lower-lip corners, and the flatter center sections. These areas reveal different problems.
At the cupid’s bow, a pencil that is too soft can create a thick, inflated line. At the corners, a pencil that is too dry may skip and leave gaps. On the lower lip, excessive pressure can deposit too much pigment and create a visible ridge beneath lipstick.
Record the first-pass payoff. A clean liner does not need to be aggressive, but it does need to be decisive. If the product drags, the line will often look uneven before any wear begins.
2. Full-lip application
Fill in the entire lip with the liner, then apply lipstick over it. This is not merely a technique for increasing color intensity. A full-lip liner base can extend wear by giving the top color another layer to grip.
The finish should remain even. If the liner gathers around dry patches or becomes waxy beneath lipstick, it is not functioning as a reliable base. A strong formula should add structure without creating a thick, visible underlayer.
3. Moisture and transfer
Drinking tests the center of the lip and the transfer surface. Look at the rim of the glass, but do not confuse some transfer with total failure. Cream and oil-based lip products will usually leave some pigment behind. The more useful question is whether the contour remains visually controlled afterward.
A good performer may lose intensity in the center while keeping the outer line intact. That is preferable to a fully saturated outline with a bare center, which can make the lips look drawn on rather than colored.
4. Food and friction
Oil is particularly revealing. It can soften waxes and loosen pigment, especially where lipstick has been layered heavily. After eating, inspect the corners first, then the upper border and the fine lines above the lip.
A formula that survives a drink but collapses after an oily meal is not necessarily defective; it may simply be a softer pencil optimized for comfort. But the limitation should be clear. Claims of eight-hour wear from specialized smudge-proof lip lock liners are claims, not universal proof that every clean pencil will remain intact for eight hours under heat and food.
5. Heat and movement
Warm lighting, outdoor heat, and repeated speaking can change the behavior of a plant-wax formula. The pencil may feel firm at the start of the day and soften as the surrounding temperature rises.
This is why an honest clean beauty lip pencil review should assess the finish at more than one point in wear. Check the line shortly after application, after layering, and after several hours of movement. A liner that looks sharp for the first hour but gradually spreads is telling you something about its structural balance.
A useful performance grid
| Test point | What strong performance looks like | Common failure |
|---|---|---|
| First-pass application | Even pigment with controlled glide | Skipping, dragging, or a broken outline |
| Cupid’s bow | Precise shape without a thick ridge | Overbuilt, inflated-looking contour |
| Lip corners | Color remains anchored during movement | Smudging and pooling at the corners |
| Full-lip base | Smooth under lipstick and improved color longevity | Pilling, waxiness, or patchy buildup |
| Drinking | Some center fade, intact perimeter | Color transfers heavily and edge collapses |
| Oily food | Gradual wear rather than instant migration | Greasy blur and pronounced feathering |
| Warm conditions | Formula softens without losing control | Melting, creasing, or a muddy border |
The application techniques that make clean formulas perform better
A high-performing pencil can still be ruined by the wrong application sequence. Clean formulas tend to reward precision because plant waxes are doing the structural work that a more synthetic system might handle with film-formers or silicones.
Start with a lighter hand
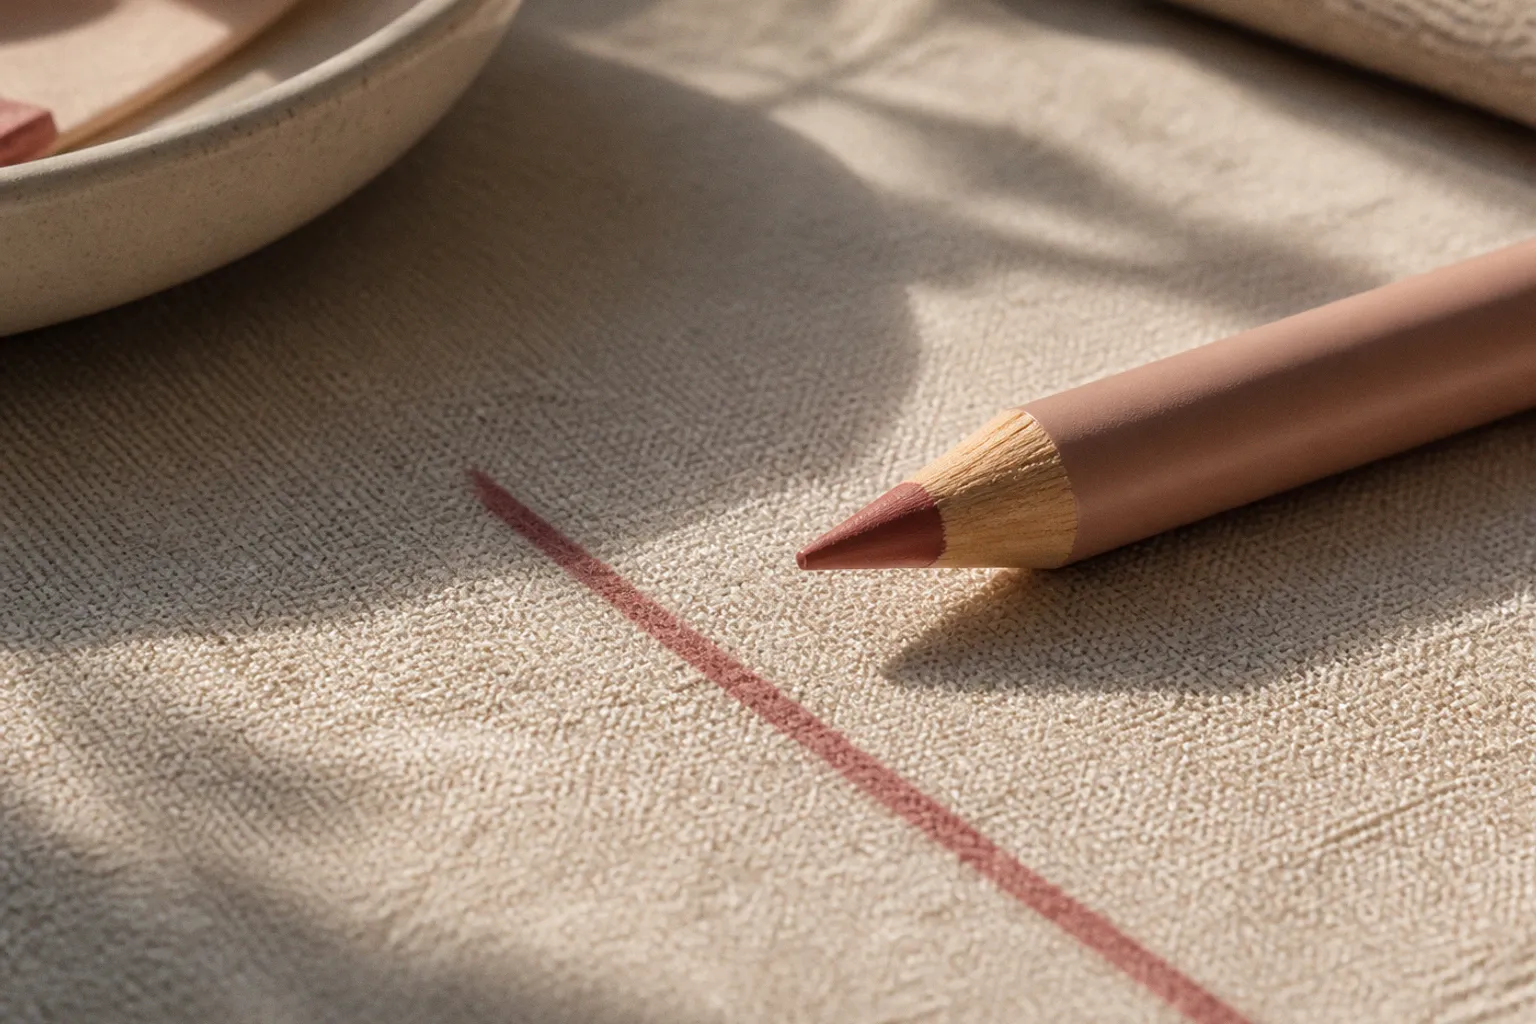
Do not press harder because the first pass looks less dramatic than expected. Pressure often creates a thicker deposit rather than a cleaner one. Build the line with short strokes, especially at the corners and the upper border.
Use the side of the pencil for broader fill and the tip for the contour. If the tip is rounded or blunt, it becomes harder to control the thickness of the edge. Precision begins before the product touches the lip.
Outline slightly inside the natural border first
If the vermilion border is uneven, begin on the lip rather than immediately drawing beyond it. Correct the shape gradually. A thick outer line is difficult to soften once lipstick is applied, and it gives feathering more pigment to work with.
For a sharper contour, trace the highest points of the cupid’s bow and the lowest point of the lower lip, then connect the sides. Avoid outlining the entire mouth in one continuous sweep. That method looks efficient but often produces asymmetry and excess product at the corners.
Fill, blot, then layer
For longer wear, fill the lip with liner, press a tissue lightly against the surface, and apply lipstick in a thin layer. Blotting removes loose surface pigment and excess emollient. It also reduces the chance that the top layer will slide over a waxy base.
If you need more intensity, add another thin layer rather than one thick coat. Thick layers are where creasing, cracking, and transfer begin to show.
Use translucent powder strategically
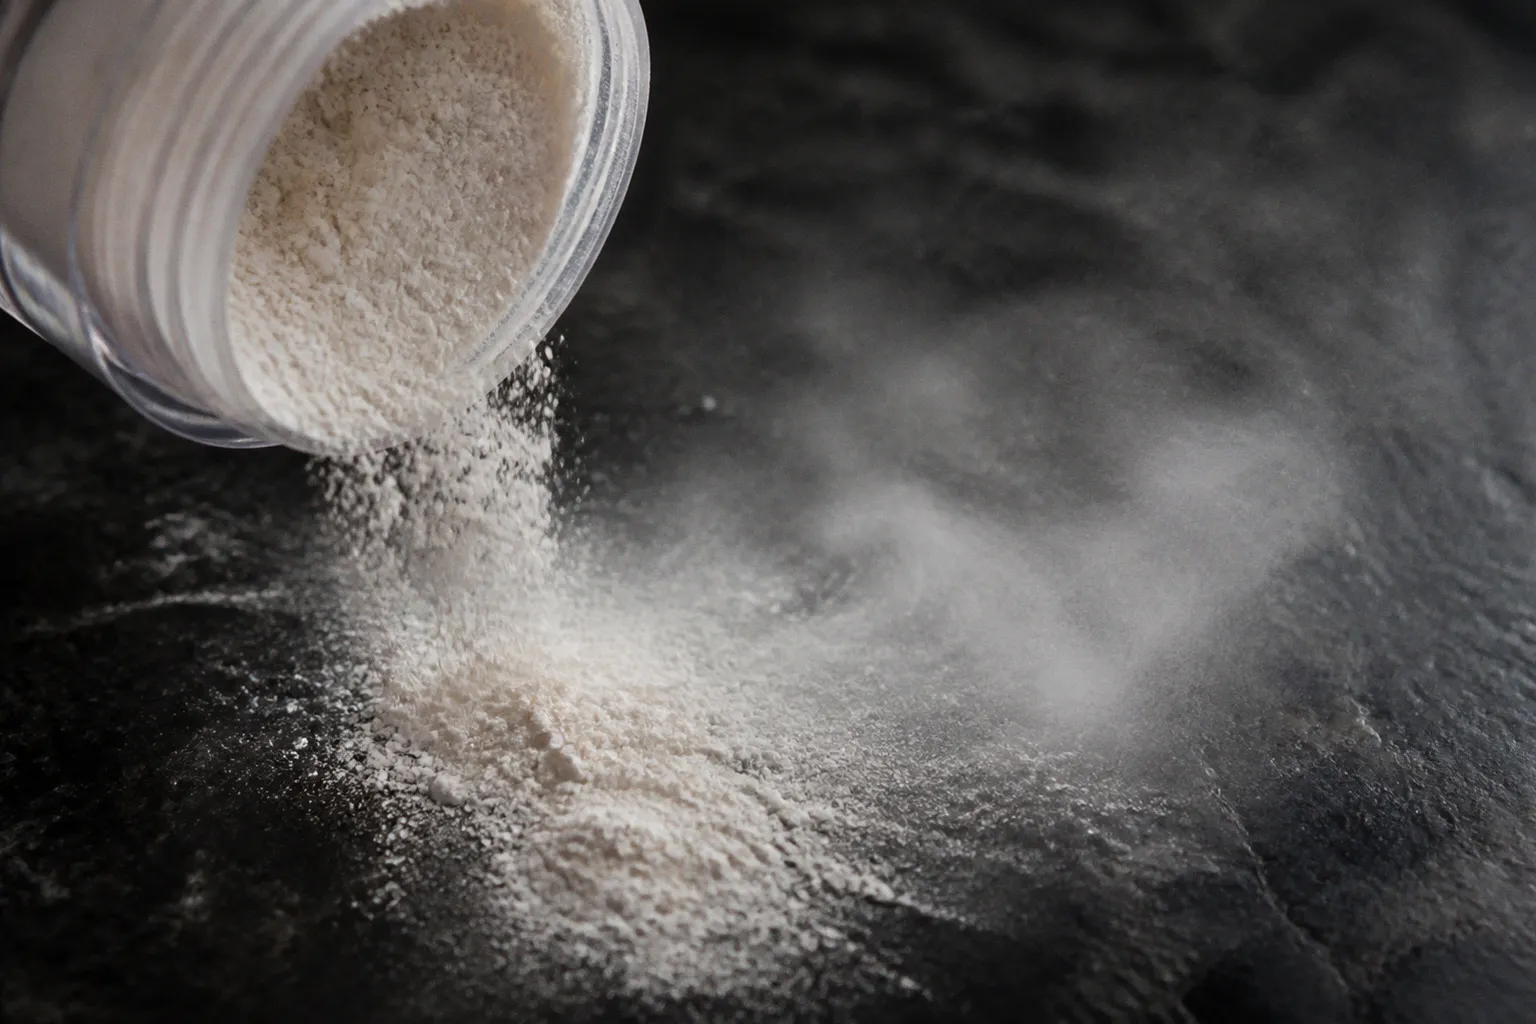
A small amount of translucent powder can set the perimeter after the liner is applied. The technique is not to powder the mouth into a dry, flat patch. Use a narrow brush or a folded tissue barrier, then press the powder lightly around the outer edge.
This is especially useful when testing a clean liner against feathering. The powder helps reduce surface movement, but it cannot rescue a formula that is fundamentally too oily or too soft. It is a control measure, not a miracle topcoat.
Keep gloss away from the outer line
Gloss amplifies slip. Apply it to the center of the lips and avoid flooding the perimeter. A clean lip gloss paired with a defined liner can look polished, but a thick gloss layer over the border turns even a stable pencil into a migration risk.
For maximum hold, use the liner as the anchor and keep the most emollient product in the center. This preserves shine without sacrificing the architecture of the mouth.
The best clean liner strategy is not maximum product. It is a thin, anchored perimeter with the softness kept where the lips actually need it.
Precision tools: the sharpener is part of the formula experience
A lip liner cannot create a precise edge if the sharpener chews up the wood, cracks the core, or leaves the tip lopsided. This is not a glamorous part of the routine, but it directly affects payoff and control.
A blunt pencil forces you to press harder. A damaged core deposits unevenly. A tip that breaks repeatedly makes the formula appear softer than it is because you are constantly exposing unstable fragments rather than a clean surface.
Dual-size sharpeners with 8 mm and 12 mm openings can accommodate different pencil diameters. The correct opening matters: too tight and it shaves away excessive product or fractures the core; too wide and it rounds the pencil without restoring a precise point.
Some precision sharpeners use carbon-infused steel blades, including blades described with a 1% carbon content. The practical question is not the marketing phrase. It is whether the blade produces a smooth, centered point without tearing the casing.
What to look for in a lip-pencil sharpener
- A clean cut: The wood should come away in controlled shavings rather than splinters.
- A stable blade: A loose blade can create an uneven point and waste product.
- The right opening: Check whether the sharpener is sized for slim lip pencils, jumbo pencils, or both.
- Easy cleaning: Wax buildup changes the cut and can contaminate the next pencil.
- A point that survives application: If the tip collapses immediately, either the blade is poor or the formula is too soft for that sharpening angle.
Sharpen the pencil before a precision application, but avoid turning the tip into a needle. An excessively sharp point can drag on the lip and deposit a narrow, overly concentrated line. The ideal tip is defined, stable, and slightly resilient.
Clean liner versus conventional long-wear formulas
The most useful comparison is not whether one category is morally or cosmetically superior. It is how each category behaves when the conditions become hostile.
| Performance factor | Plant-based clean liner | Conventional long-wear liner |
|---|---|---|
| Glide | Often creamy when balanced with botanical oils | Can be exceptionally smooth through silicones and synthetic emollients |
| Edge control | Depends heavily on wax structure and application | May benefit from stronger film-forming systems |
| Comfort | Frequently comfortable, though formulas vary widely | Can range from flexible to dry and tight |
| Smudge resistance | May be strong but should not be assumed waterproof or transfer-proof | Often engineered for higher resistance, but not always comfortable |
| Full-lip use | Useful for building pigment and extending lipstick wear | Often effective as a high-impact color base |
| Heat performance | Formula may soften as temperature rises | Can remain stable longer, though some formulas crease or crack |
| Best application style | Thin layers, careful blotting, controlled gloss | May tolerate heavier application, but still benefits from restraint |
The clean category has real strengths. Plant waxes can create a convincing boundary, and botanical oils can prevent the pencil from feeling like a dry marker. But the category is not magic. Without synthetic film-formers or silicones, it is inaccurate to promise that a clean liner will be automatically waterproof or transfer-proof for an entire day.
The best products are honest about their design. A comfortable pencil that holds the perimeter and fades evenly can be more useful than a rigid formula that survives a napkin but leaves a cracked ring around the mouth.
What the strongest clean lip liners actually do
A successful clean lip liner does not need to behave like industrial sealant. It needs to make the visible result more controlled.
That means:
- The lip shape looks intentional rather than overdrawn.
- The outline remains crisp enough to stop lipstick from wandering.
- The pigment fades gradually instead of breaking into patches.
- The full-lip base improves color longevity without turning waxy.
- The formula can be layered without creasing into the lip texture.
- The product remains workable under real movement, not only under static lighting.
For a non-toxic lip liner feathering test, the edge is the headline. If the line stays put while the center loses some color, the formula is doing its job. If the center remains bold but the perimeter spreads into a gray-beige haze, the formula has failed where it matters most.
The verdict is straightforward: clean lip liners can deliver credible smudge and anti-feathering performance, but only when the wax-and-oil balance is right and the application is disciplined. Look for carnauba wax and conditioning botanical oils as part of a coherent formula, not as isolated virtue signals. Sharpen the pencil properly, avoid heavy balm immediately beforehand, blot between layers, and keep gloss concentrated at the center.
A clean lip liner is not automatically a long-wear lip liner. The winners are the pencils that create a stable boundary, maintain pigment through ordinary friction, and fade without turning the mouth into a muddy outline. That is the standard. Anything less is just good packaging with bad perimeter control.